(the Website Builder is included in the current Core and higher plan tiers -- if you don't have access to the Builder, please contact our Support team to find out how you can move to our updated pricing)
Link your Google Analytics account
Add a link to an external site
System requirements
You will find the tool works best in environments it is optimized for:
- Google Chrome on:
- iPad/iPhone/iOS12+
- Mac OSX 10.14+
- Android v7 (Nougat)+
- Windows 7/8/10
- Safari on:
- iPad/iPhone/iOS12+
Learn more about other environments
Build your website
- In your side navigation panel, click Website.
- Follow the onboarding prompts or click Skip this to jump right into designing. If you choose to follow the onboarding prompts, you can always skip at a later step by clicking the link in the top right corner.
- After the onboarding flow is completed or skipped you can begin customizing your site
- Additional resources: Website guides (please note that the "Store setup" option is not applicable -- you'll do this with your Local Line storefront!)
SEO settings
Add SEO settings to your website which help web browsers find your website so it can rank as high as possible in its web search results
- After opening your website, click Menu.
- Click Settings.
- Click Website health and SEO.
- Use the spaces provide to add a Title, Language Description, and Keywords.
- Click Save.
Link your Google Analytics account
Add your Google Analytics tracking code to your website to capture valuable insights on traffic and visitor behaviour.
In order to get started, you'll need to get your tracking code from your Google Analytics account. See the section "Set up data collection for websites" in this Google help article. Then, go to the "All other website builders" section:
 *Always visit Google's help article for the most up-to-date version. Link above.
Once you have copied the JavaScript snippet, head to the website builder from your Local Line backoffice.
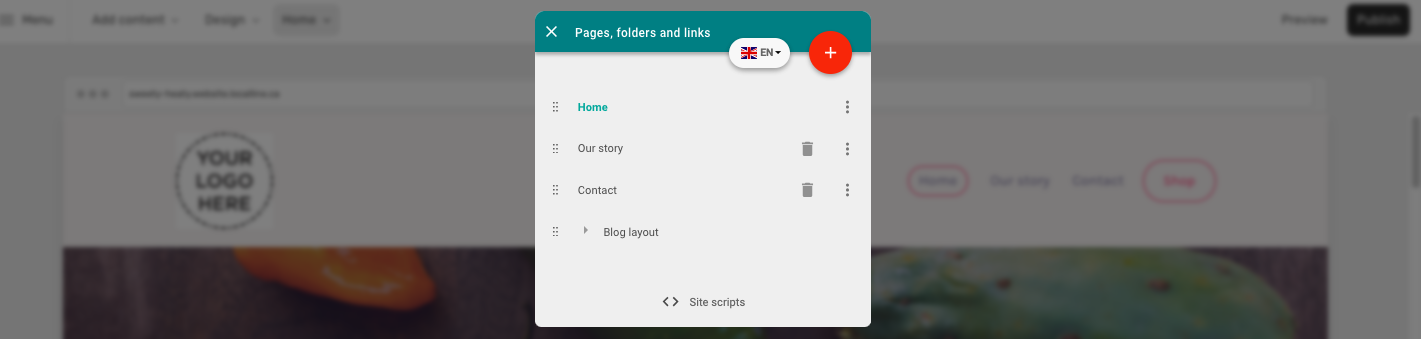
- After opening your website, click the page selector dropdown at the top
- Click Site scripts at the bottom of the pages menu
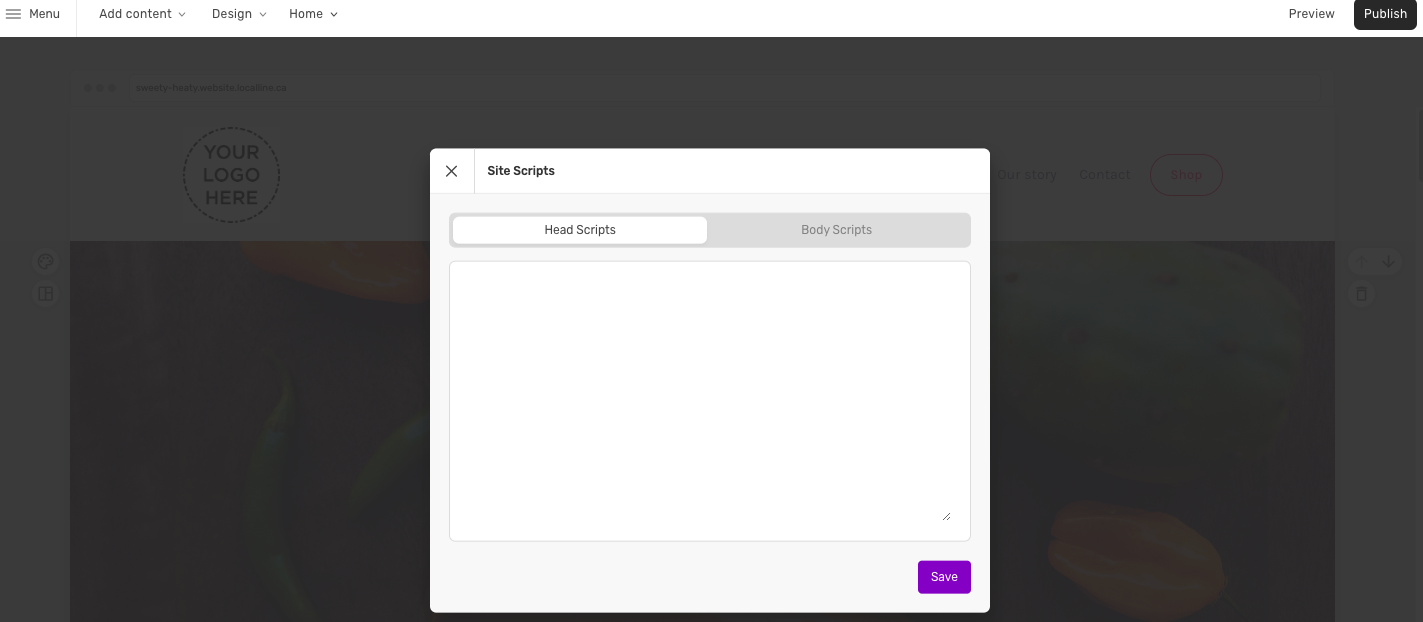
- In the Head scripts box, paste the code you copied from your Google Analytics account.
- Click Save. It can take up to 30 minutes before you see tracking details in your Google Analytics account. You can then use the Realtime report to verify that you're receiving data.
Publish your changes
Changes are applied when you click Publish.
Change font and text size
You can customize the template design you selected when you built your website from the Design menu.
- Click Design
- Click Fonts
- Specify a font on the Custom tab or choose a Preset
Add a Link to an External Site
If you want to add a link to an external site in your website navigation, here are the steps:
- Click the page selector at the top, and In the Pages dialog, click the plus button to add a new page
- Select "New link", enter the Page title (how you want the link displayed in your navigation), and then enter the URL

- Click Done to save