.png?height=120&name=Local%20Line%20Lora%20Filled-in_White%20(3).png)
Use this workflow to make shipping your orders easy!
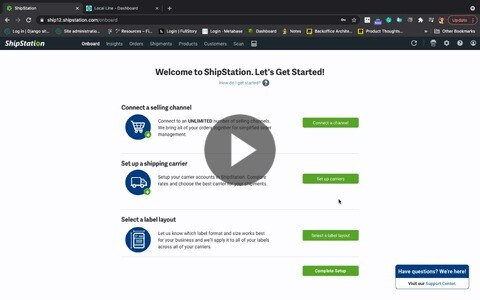
- Connect a channel.
- If you have just created your ShipStation account, click Connect a channel from the getting started page on the Onboard tab.
- Search for "ShipStation".
- If you already have an account, click the gear icon (top right).
- Click Selling Channels.
- Click Store Setup.
- Click Connect a Store or Marketplace.
- Search for "ShipStation".
- If you have just created your ShipStation account, click Connect a channel from the getting started page on the Onboard tab.
- Connect your ShipStation Manual Store.
- Enter a Store Name.
- Uncheck the box next to Automatically generate order numbers to new manual orders.
- Click Connect.
- Prepare the import file.
- In your Local Line account, go to the Orders page.
- Use the filters to find the orders you want to import into ShipStation.
- Select the orders and click Export.
- Select the Orders summary (no product detail).
- Click Generate.
- In the downloaded CSV file, remove the # symbol from the cell in A1, along with any hidden spaces. After this modification, the header should read Order, not Order #. Save the modified file. If you are using macOS with Numbers as your default program for spreadsheets, you might need to export the Numbers file back to a CSV file type.
- Import orders into ShipStation.
- Go to the Orders tab.
- Click the Other Actions dropdown menu.
- Click Import Orders.
- Click + Select file. Navigate to and select the file you saved in 3d.
- In Import to store, select the store you created in 2a.
- Ensure Create a new field mapping is selected and click Upload.
- Map column headers to ShipStation fields.
- In Order Information, find the ShipStation Order # field and map it to the Order field in the Your Column Header dropdown.
- In Buyer & Recipient Information, map the following fields:
- Address Line 1 to Street
- Buyer Email to Email
- Buyer First Name to First Name
- Buyer Last Name to Last Name
- Buyer Phone to Phone
- Buyer Username to Account Name
- City to City
- Country Code to Country
- Postal Code to Postal (zip/post codes)
- State to State/Province
- In the Field mapping name, type a custom name for the mapping. For example, "Local Line Orders Summary".
- Click Start Import.
- After the loading bar completes, refresh your page to display the orders on the Orders tab.
Step 5 is only applicable on your first import. On subsequent imports, go to step 4e and then select Use a saved mapping. Select the mapping you configured in step 5 and click Upload.
For more information, see the ShipStation help page.